Singapore
 Australia
 Indonesia
 Japan
Japan Malaysia
 New Zealand
 Philippines
 South Korea
 Taiwan
 Thailand
 VIETNAM
So, you’ve got a toilet container, huh? Whether it’s for a job site, an event, or just a backup, keeping it in good shape is pretty important. Nobody wants a stinky, leaky situation. It’s not rocket science, but there are definitely a few things you need to do to make sure your toilet container works right and doesn’t become a problem. Let’s break down what you need to know to keep it clean and functional.
Key Takeaways
- Regularly clean and sanitize your toilet container, paying attention to tanks, bowls, and seats, to prevent odors and bacteria buildup.
- Inspect the toilet container for leaks, especially around seals, valves, and tank connections, and fix any issues promptly to avoid water waste and damage.
- Check and replace worn-out parts like flappers, handles, or seals as needed to maintain proper flushing and prevent bigger problems.
- Address clogs quickly using simple tools and ensure proper water levels for efficient flushing and to avoid unnecessary water use.
- Store your toilet container properly when not in use by cleaning it thoroughly and keeping it in a dry, protected location to extend its lifespan.
Essential Toilet Container Maintenance Tasks
Keeping a toilet container in good shape isn’t rocket science, but it does take a bit of regular attention. Think of it like taking care of any other piece of equipment – a little effort now saves a lot of headaches later. We’re talking about making sure it’s clean, doesn’t leak, and all the parts are working right. These aren’t complicated jobs, just things you need to do consistently.
Regular Cleaning and Sanitization
This is probably the most obvious one. You need to keep the toilet container clean, not just for looks, but for hygiene. A good scrub down, especially around the rim jets under the bowl’s edge, helps prevent gunk buildup and keeps things smelling fresh. When you’re cleaning, try to stick to milder stuff like diluted disinfectants or a baking soda and water mix. Harsh chemicals can actually damage the surfaces over time, which is the opposite of what you want. Also, keeping the lid down when it’s not in use is a simple habit that cuts down on germ spread.
Checking for Leaks and Drips
Leaks are a big no-no. They waste water, can cause damage to the surrounding area, and are just plain annoying. You’ll want to keep an eye on the seals where the pipes connect. Also, check the bolts that hold the tank to the bowl – rust is a sign they might be weakening. If you see any signs of water where it shouldn’t be, or notice any wobbling, it’s time to investigate. Ignoring small drips can lead to bigger, more expensive problems down the line.
Replacing Worn Components
Over time, parts just wear out. Things like the flapper valve at the bottom of the tank, the flush handle, or even the chain connecting them can get old and stop working correctly. It’s smart to keep an eye on these parts. If the flush isn’t as strong as it used to be, or if the tank keeps refilling even when it shouldn’t, a worn-out component is often the culprit. Swapping out a faulty flapper or a sticky handle is usually a pretty straightforward fix that keeps the whole system running smoothly.
A well-maintained toilet container is more than just a convenience; it’s a sign of good facility management. It prevents bigger plumbing issues, reduces water waste, and contributes to a more pleasant environment for everyone using it.
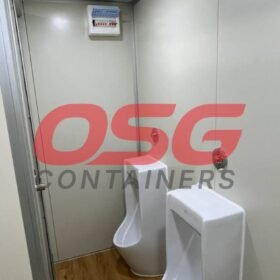
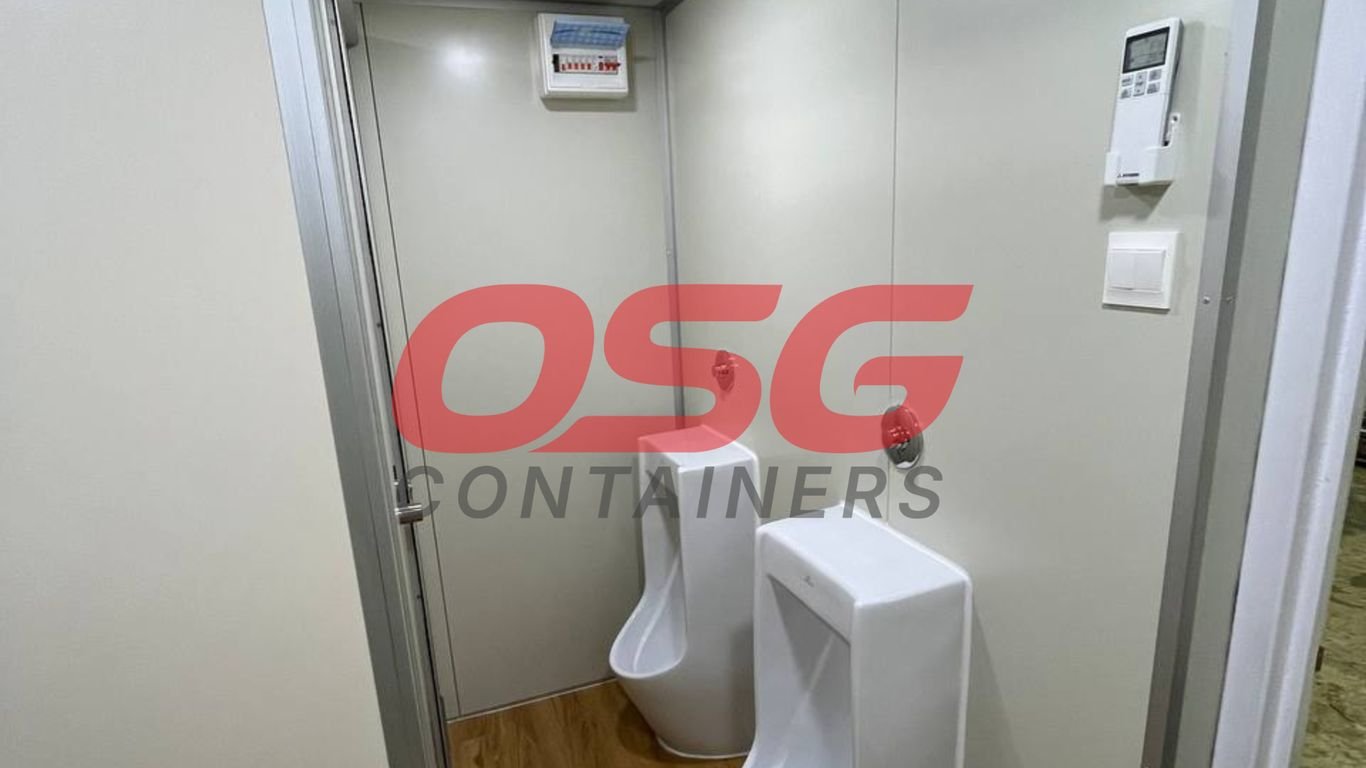
Maintaining Toilet Container Components
When you own a toilet container, whether it’s for a job site, an event, or even just a backup at home, taking care of its parts is key to making sure it works right and lasts a long time. It’s not just about keeping it clean; you’ve got to pay attention to the bits and pieces that make it all happen.
Waste and Water Tank Care
For flushable container toilets, the tanks are where the action is. After you empty the waste tank, give it a good rinse. This stops stuff from building up and causing smells or blockages later. Same goes for the fresh water tank if your unit has one – keep it clean so the flush works well. Regularly check both tanks for any cracks or leaks. Even a small drip can turn into a bigger problem, not to mention the mess it can make. Make sure the lids seal up tight too, to keep odors in and pests out.
Plumbing and Valve Inspection
Inside your container toilet, there’s a bit of plumbing. Think valves, pipes, and connections. You’ll want to give these a look now and then. Are the valves opening and closing like they should? Any drips coming from the connections? If you spot anything that looks off, like a slow leak or a valve that’s sticking, it’s best to get it sorted. Ignoring these small plumbing issues can lead to bigger headaches down the road, like a toilet that won’t flush or a leak that damages the unit.
Seal Integrity Checks
Seals are super important for keeping your toilet container working properly and smelling fresh. This includes the seals around the tank lids, but also any seals where pipes connect or where the toilet unit itself might meet a base. Over time, these seals can dry out, crack, or get damaged. If a seal isn’t doing its job, you can get leaks, odors escaping, or even water getting into places it shouldn’t. A quick check of all the seals, and replacing any that look worn, will save you a lot of trouble.
Ensuring Proper Toilet Container Functionality
Keeping your toilet container working right is pretty important, right? Nobody wants a toilet that doesn’t flush or, worse, leaks. A few simple checks can save you a lot of hassle down the road.
Testing Flush Handle and Flapper
First off, give that flush handle a good test. Does it feel loose? Does it spring back like it should? A wobbly or stiff handle might mean a part inside is wearing out. You’ll also want to check the flapper, that rubbery bit at the bottom of the tank that lifts when you flush. If it’s warped, cracked, or just not sealing right, water will keep trickling into the bowl, which is a waste and can make the toilet run constantly. You can usually tell if the flapper’s bad if you hear the toilet refilling itself even when you haven’t flushed.
- Check the handle’s movement: It should be smooth and return to its original position easily.
- Inspect the flapper: Look for any signs of wear, tears, or stiffness.
- Listen for leaks: If the tank keeps refilling, the flapper is likely the culprit.
Addressing Clogs and Blockages
Clogs are a pain, plain and simple. If you notice the water level in the bowl rising higher than usual after a flush, or if the water drains really slowly, you might have a clog starting. Don’t wait for it to get worse! A good old-fashioned plunger can often do the trick for minor blockages. Just make sure you get a good seal around the drain hole. For tougher clogs, a toilet auger (or drain snake) might be needed. Just remember to be gentle and follow the tool’s instructions.
It’s always better to deal with a small clog right away. Letting it sit can make it harder to clear and might even cause overflow issues.
Adjusting Water Levels for Efficiency
Believe it or not, the amount of water in your toilet tank matters. If the water level is too low, you won’t get a strong enough flush to clear the bowl properly. If it’s too high, you’re just wasting water. Most tanks have a fill line marked inside. You can usually adjust the float mechanism to get the water level just right. This simple tweak helps make sure every flush is effective and conserves water, which is good for your wallet and the environment.
Preventing Issues with Toilet Containers
Nobody likes dealing with a broken toilet, especially when it’s a portable unit. A little bit of attention now can save you a lot of headaches later. Think of it like giving your car an oil change – it just keeps things running smoothly.
Identifying and Fixing Leaks
Leaks are more than just annoying drips; they can waste water and even cause damage to the surrounding area. Keep an eye out for any moisture around the base of the unit or where pipes connect. Sometimes, it’s just a loose fitting that needs a quick tighten. Other times, a worn-out seal or a crack in the tank might be the culprit. Catching these early means you can often fix them with simple replacements before they turn into a bigger problem.
- Check tank and bowl connections: Look for drips or water stains. Tighten bolts if they seem loose.
- Inspect seals and gaskets: These rubber or plastic parts can dry out and crack over time. Replace them if they look worn.
- Listen for running water: A toilet that sounds like it’s constantly refilling might have a leak in the tank or valve system.
A silent leak in the tank can go unnoticed for a while, leading to significant water waste and higher utility bills. A simple test involves adding a few drops of food coloring to the tank water. If color appears in the bowl without flushing, you’ve got a leak that needs attention.
Managing Foul Odors
Bad smells are a common complaint with any toilet, and portable units are no exception. Keeping things clean is the first line of defense. Regular rinsing of the waste tank, especially after heavy use, helps a lot. For stubborn odors, a mixture of baking soda and vinegar can work wonders, or you might need a specialized cleaner designed for odor control in waste tanks. Sometimes, mineral buildup can also contribute to smells, so using a cleaner that tackles those can be effective.
Stabilizing and Securing the Unit
Nobody wants a wobbly toilet container. It’s not just uncomfortable; it can be a safety hazard. Make sure the unit is sitting on a level surface. If it still feels unstable, check the bolts that secure it. Tightening these can often fix any rocking or shifting. If the ground itself is uneven, you might need to use shims to level it out properly. A stable unit is a safe unit.
- Ensure a level base: Place the container on flat, firm ground.
- Tighten mounting bolts: Periodically check and tighten any bolts holding the unit together or to its base.
- Use shims if needed: For uneven surfaces, add shims under the base to achieve stability.
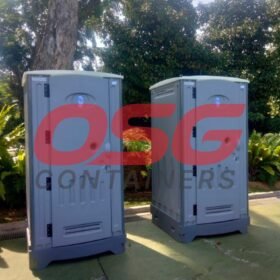
Storing Your Toilet Container
When your mobile toilet isn’t in use, whether it’s a temporary setup for an event or a seasonal unit, proper storage is key to making sure it’s ready to go when you need it next. Think of it like putting away your camping gear – a little care now saves a lot of hassle later. This applies whether you’re talking about a standard mobile toilet or a more robust toilet container, especially if you’re in a place like Singapore where humidity can be a factor.
Cleaning Before Storage
Before you tuck your toilet container away, give it a good clean. This isn’t just about making it look nice; it’s about preventing smells and potential buildup of bacteria or mold.
- Empty and Rinse: Make sure the waste tank is completely emptied and then rinsed out. If it’s a flushable unit, rinse the water tank too.
- Wipe Down Surfaces: Use a mild cleaner to wipe down the interior and exterior surfaces, including the seat and lid.
- Dry Thoroughly: Let all parts air dry completely. Dampness is the enemy of stored items, especially plastics and seals.
Selecting an Appropriate Storage Location
Where you store your mobile toilet matters. You want a spot that protects it from the elements and extreme temperatures.
- Indoors is Best: A garage, shed, or covered storage unit is ideal.
- Avoid Direct Sunlight: Prolonged sun exposure can degrade plastic components over time.
- Keep it Dry: Moisture can lead to mold, mildew, and rust on metal parts.
Storing your toilet container in a cool, dry place away from direct sunlight and extreme weather will significantly extend its lifespan and prevent unexpected issues when you need it again.
Protecting from Environmental Factors
Even if you store it indoors, consider extra protection. For a mobile toilet in Singapore, humidity is a big concern, so extra steps might be needed.
- Use a Cover: A breathable tarp or a purpose-made cover can shield the unit from dust and accidental bumps.
- Check Seals: Before storing, double-check that all seals and gaskets are in good condition. This helps keep out moisture and pests.
- Consider Desiccants: In very humid environments, placing a moisture-absorbing packet inside the tank area can help prevent condensation.
Advanced Toilet Container Care Tips
Beyond the regular upkeep, there are a few extra things you can do to really keep your toilet container in top shape and running smoothly for a long time. It’s about being a bit more proactive, you know?
Using Eco-Friendly Cleaning Solutions
When it comes to cleaning, ditching the harsh chemicals is a good move. Not only is it better for the environment, but it’s also gentler on the toilet’s materials and less likely to cause skin irritation if you happen to get some on you. Think about using things like vinegar, baking soda, or plant-based cleaners. They work surprisingly well on most messes and odors without all the nasty fumes.
Scheduling Professional Inspections
Look, sometimes you just can’t see everything yourself. It’s a smart idea to have a professional take a look every so often, maybe once a year. They’ve got the tools and the know-how to spot problems you might miss, like tiny cracks in the tank or issues with the valves that could turn into bigger headaches later on. It’s like a check-up for your toilet.
Implementing Monitoring Systems
For places where these toilet containers are used a lot, setting up a system to keep an eye on things can be a real game-changer. This doesn’t have to be super high-tech. It could be as simple as a checklist that gets filled out after each use or a weekly inspection log. The main idea is to catch small issues, like a slow leak or a funny smell, before they become major problems that disrupt service or require costly repairs. It helps keep everything running without a hitch.
Keeping your toilet container in good working order isn’t just about avoiding unpleasant smells or leaks. It’s also about making sure it’s safe and reliable for everyone who uses it. A little extra attention can go a long way in preventing unexpected downtime and keeping users happy.
Wrapping It Up
So, keeping your portable toilet in good shape really just comes down to a few regular things. Think of it like taking care of any tool you rely on. A quick rinse after use, checking for leaks now and then, and giving it a good clean periodically makes a huge difference. Storing it right when you’re not using it helps too. By doing these simple tasks, you’ll find your toilet lasts longer and works better, saving you hassle and maybe even some money down the road. It’s not rocket science, just a little bit of consistent care.
Frequently Asked Questions
How often should I clean my toilet container?
For regular use, it’s best to give your toilet container a good cleaning about once a week. If it’s being used a lot, like at an event or busy worksite, you might need to clean it more often, maybe every few days, to keep things fresh and hygienic. A quick rinse after each use is also a good idea if it’s a flushable type.
What’s the best way to deal with bad smells from a toilet container?
Good cleaning is the first step! After emptying and cleaning the waste tank, using a special deodorizing liquid or packet (often called ‘blue products’) can really help. Making sure the tank seals are tight also stops smells from getting out. Keeping the lid closed when not in use and using air fresheners can also make a difference.
I noticed a leak in my toilet container. What should I do?
Leaks are no good! First, try to find exactly where the leak is coming from. It might be a loose pipe connection, a worn-out seal, or even a crack in the tank. Tighten any loose fittings you can find. If it’s a seal or a crack, you might need to replace the part or use a sealant to fix it. It’s important to fix leaks quickly to prevent bigger problems.
My toilet container isn’t flushing well. What could be wrong?
A weak flush often means something is blocking the water flow. Check the small holes under the toilet rim (rim jets) and inside the tank for any clogs. Sometimes the flapper valve inside the tank might be worn out or not sealing properly, which can affect the flush. Make sure the water level in the tank is also correct.
When I’m not using my toilet container, how should I store it?
Before you put it away, make sure to clean and dry it thoroughly. This stops any yucky stuff from building up. Store it in a place that’s cool and dry, away from direct sun or extreme temperatures. If you’re storing it outside, a cover can protect it from rain and snow.
Are there any special cleaning products I should use or avoid?
It’s usually best to use mild cleaning solutions and water. Avoid really strong or harsh chemicals, as they can damage the plastic parts of the toilet container over time. For flushable toilets, some special chemicals are designed to help break down waste in the tank. Using eco-friendly cleaners is also a good choice for both the environment and your health.